11 September, 2014

In the Studio #8: Grim Grinning Ghosts Come Out To Socialize

Before we begin - did anyone get the reference? Anyone else have this video back in the 90s? Scared the daylights out of me as a kid...


Anyhow...

It's been a while. A very long while. It seems that every time I say "I'll write soon", life gets in the way. The past five months have been very difficult for me, but things are getting better now. Currently I'm involved in another Spooky SM Swap hosted by Model Horse Blab. If you remember last year, I did a realistic Thoroughbred who I nicknamed "Friend of Mine" (hey, that was my first "In the Studio" post!). This year for my second Spooky Swap, I'm back to doing realistics. I'll say Friend of Mine gave me a little less grief.

When I'm working on a swap I haven't sent out yet, I try to be vague. I don't want my victim to stumble across this and figure out it's their horse (though I have done that in the past - doesn't really make it THAT much less fun :D). So I have to be careful here. But I won't stint you all.

Usually when there's a swap going on, I don't really know what I'm going to do until after I get my partner. Once I have information, the wheels start turning, and boy did they turn this year! I lucked out and already had a body in my box o' victims, so it was off to the craft store!


When I started shopping I still wasn't sure as to whether or not I wanted to do a deco or realistic horse, but I did have ideas. I wanted to use another coffin box - that was not only fun, but made packing much easier (stick da pony in da box, he can't get broken as easily). I also knew I needed more orange craft acrylic, and I had a new idea - I wanted to make him a little costume. I chose a ghost, since it's simple yet fun, and decided I wanted to give him a trick-or-treat bag to go along with it (the body is a Belgian with his leg raised, so he was kind of asking to be holding something). I found this fun double-sided paper in the scrapbooking section, but then had the idea that I could make a matching treat bag in a larger size for his owner. So I wound up with three pieces of this paper. 

A few weeks passed where I couldn't really work, and had to wait until about a week and a half ago to even prep and re-prime the body (he'd been primed before but it was a very poor job). One evening after recovering from one of the worst sinus infections I've ever endured, I decided to work on the costume.


The real body was still drying from primer, so I had to use a horse from my own collection. First order of business was to make sure the little bugger stayed put, so I put some Quake Hold on his hooves and placed him on the coffin box to raise him a bit. Now to cut out the pieces for the costume.


Hey, if your work doesn't involve some degree of fun, you're just gonna be miserable.

I started by cutting out small pieces of the fabric I picked up and marking the area I was going to cut... with a colored pencil. I really could use tailor's chalk.


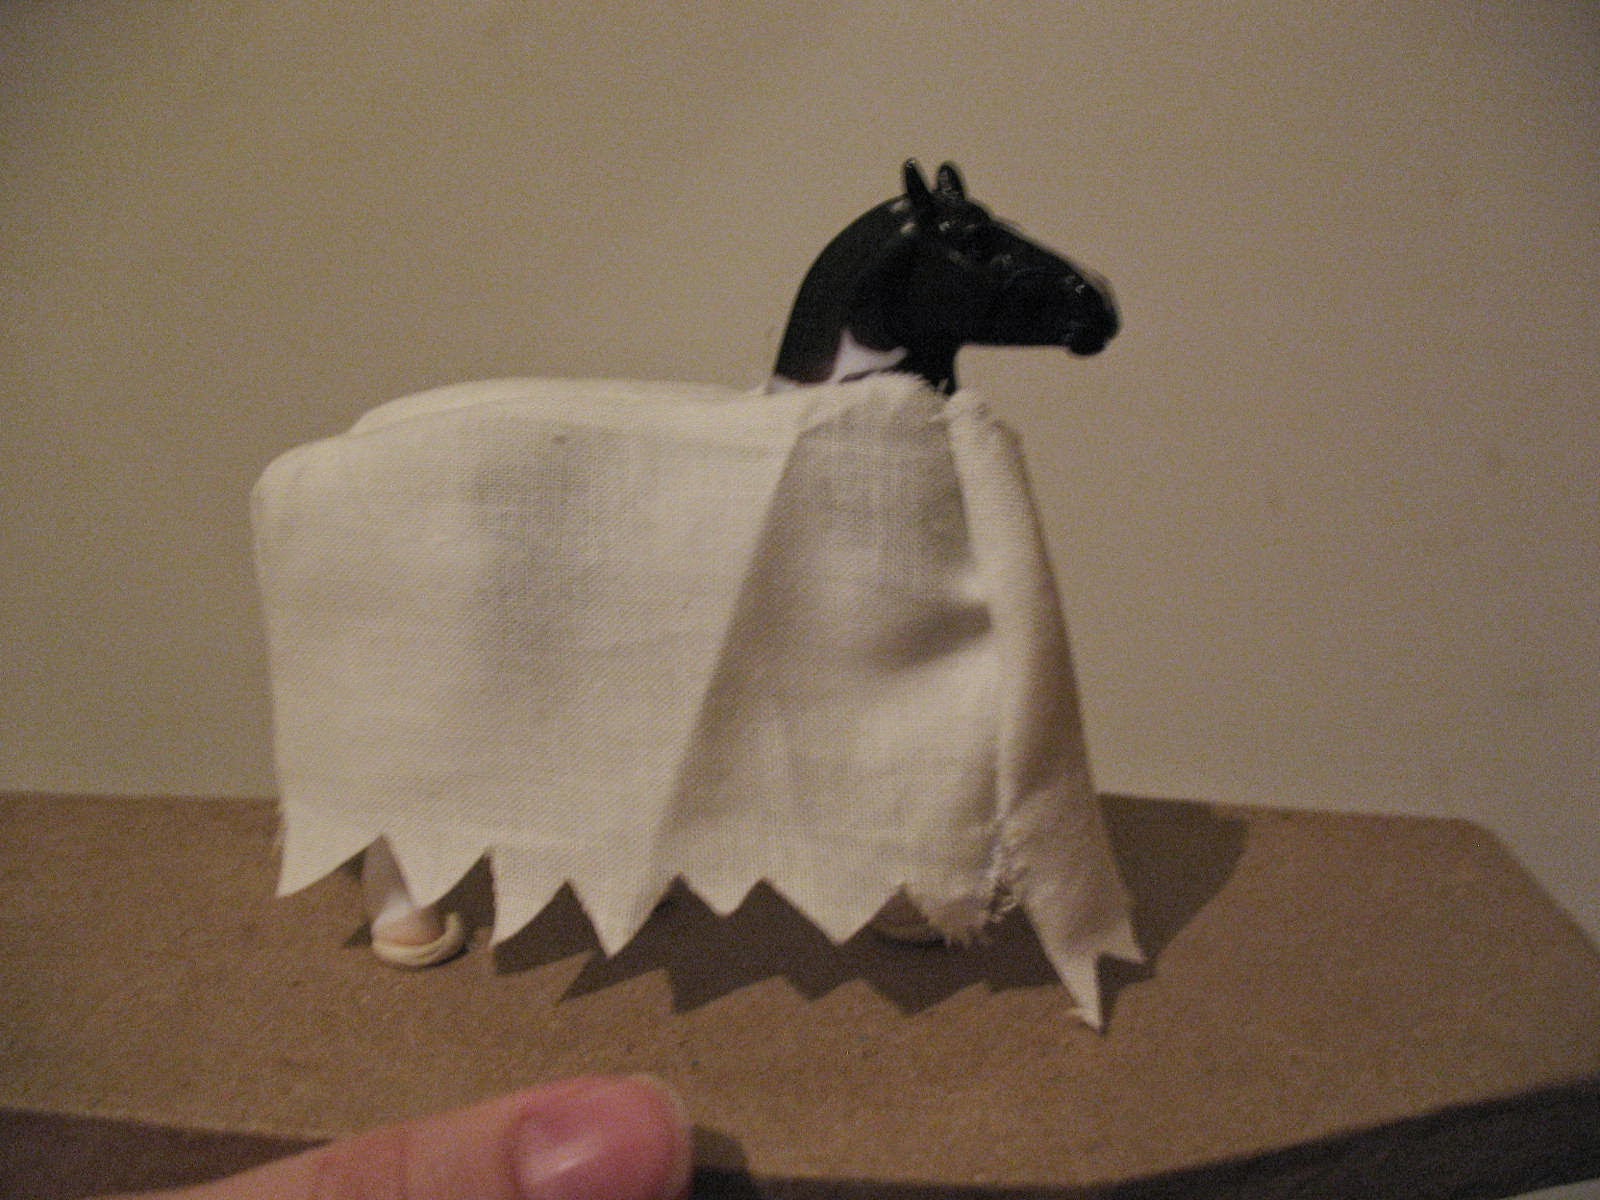
The costume was going to be in two parts - the cowl and the body piece. I would later sew them together. I made two pieces using the outline of the head, and then eyeball measured a small strip of fabric to go between them. Then I pinned everything together - yes, it's inside out, but that's how sewing works. 


As you can see, he's looking very ludicrous. It'll get better, I promise. Now it was onto the body piece. This was trickier as the horse isn't symmetrical. But, you work with what you got. I cut two pieces and used some more thick strips to go between, as well as a piece to go across the front legs and chest (I'm just now realizing how bad I am at explaining things - sorry!)


Now we're getting somewhere! To the sewing machine!


Simple, but it works for what I need it for. Most of the time. The problem I face a lot of time is that whenever I actually have motivation to sew, my mother is home. Now I love my mom, but I am in no way joking when I say if she so much as LOOKS at a sewing machine, the thing will break. I learned that the hard way when I got my first mini-sewing machine for Christmas and unboxed it in front of her. So I have to work late at night, in hiding. 

Another problem I ran into is the tiny, tiny scale I was working on. That cowl I made earlier? Let's just say it didn't work out. I will be trying again of course, but I may resort to hand-stitching. The body piece, however, worked out in my favor.

Last night, I decided I would finally start work on the horse itself. First thing I do when I have a primed horse is buff - sometimes I use a cotton-y piece that fits onto a Dremel bit, but usually I opt for the old sock method. Old, clean sock, I will add.


I like this angle because it's artsy.

I did a good deal of work last night. After a good deal of stressing about what color to make him (I'm a really indecisive person) and a friend finally deciding for me, I set to work. I put on my iPod, using it to not only entertain me with music, but also for reference. I could have used a computer, but my laptop is too big for the little space I have on my desk, and the desktop... -shudders- Plus my iPod works just fine. 


Between coats of paint, I would go over and work on the treat bag. This wasn't fun. The desktop was not cooperating and wouldn't communicate with the printer, so I couldn't get the template printed for maybe forty-five minutes. That doesn't even factor in the time it took to find the right template.


(My boyfriend decided it would be funny to take a photo of me looking at Pinterest.)


After a lot of tedious cutting (and failure with a glue stick), I had all the parts of my treat bag cut and scored, ready for assembly. Now back to the pony (he doesn't have a nickname yet.)

With every horse I do, I try different methods. Each horse is a learning experience and a bit of a lab rat. I found quickly that the grey automotive primer I use makes it so pastels won't show, so I had to do a few light base coats before I could proceed. I also decided to see how the horse would look if I mixed the pastel dust with water and painted that on (it was after that dried that I realized I wasn't taking pictures - stupid!) It made an interesting undercoat. Honestly it looked a bit like I was painting with pumpkin coffee. As that was drying I glued the treat bag together, watched a few videos from Rocky Horror (used a bit too much water, oops), then went back to working on the main coat colors. 

The horse I was looking at for reference has a light underbelly with dappling. Not sure if I'll attempt the dappling just yet, but I did want there to be a bit of a marriage between the chestnut and the lighter, creamier color. So I turned to stippling. Using a stabby motion and later a brush that's probably for stenciling, I scattered the color a bit to make it more natural than just a line.


(I was wearing shorts I promise you.)

It took a while but finally I had a decent main coat color. I over-painted the areas that will later be lighter. The thing about acrylic that I love is that it's forgiving - you can paint over it without much problem.


(It was commented that with the way I covered his mane he looks like the Trojan Horse. Maybe I'll name him Troy.)

With that, it was nearing 4:30 AM and I was getting exhausted. I decided to work on the horse's trick or treat bag and then go to bed.


Not sure of the dimensions of the big bag, but the little one is about an inch tall. 

That's it for now, folks. I do plan on working more tonight. Hopefully I'll write soon!

04 July, 2014

In the Studio #7: Wiiiiiiiings...

So, it's been awhile. As of today, it's been three months and two days since last I updated. I'd meant to get around to writing sooner but... Well, let's just say, life got in the way. And because of that, customizing wasn't the first thing on my list. But I finally cracked down on myself and got back to work.

When last we met, Crocker looked somethin' like this...

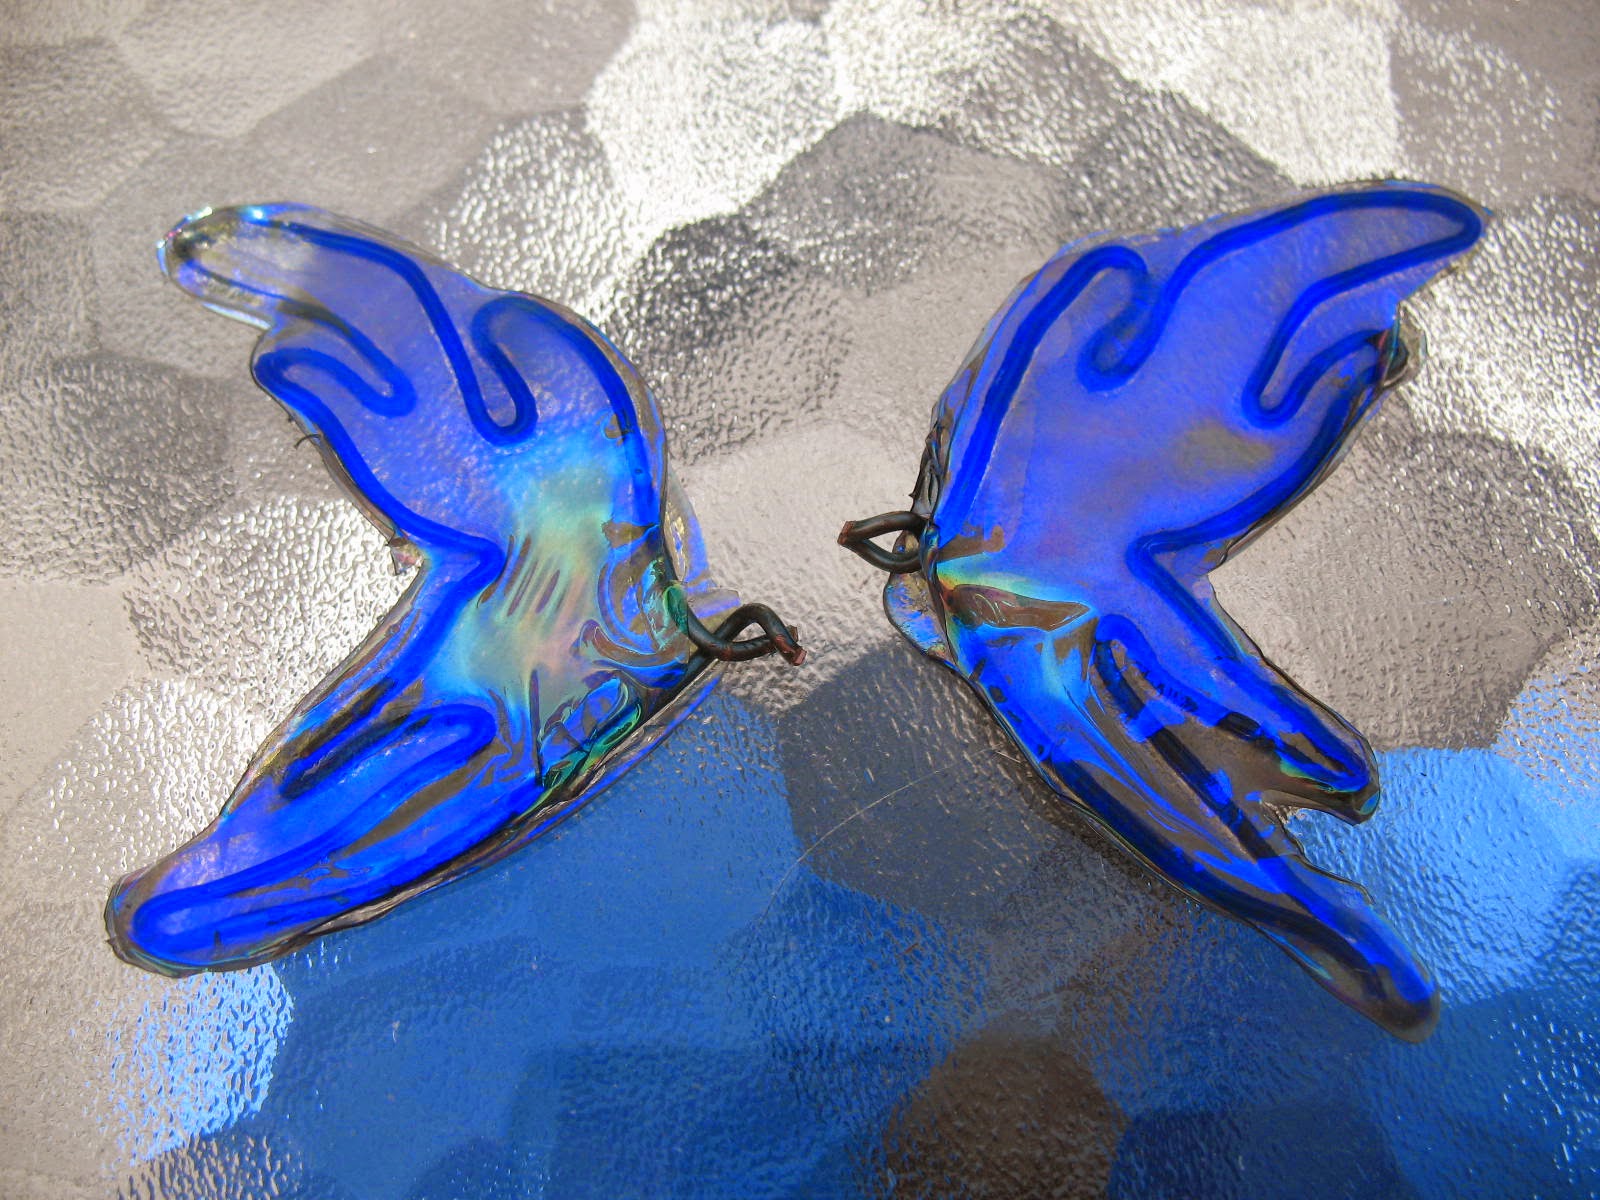
Here, he'd only had a basecoat done, and his wing armatures were made. And darn those little wings... In an earlier post, I shared a video showing how to make fairy wings out of wire armature and stockings. Unfortunately, that only seems to work for larger wings that don't have so many curves. I don't have a photo of my failure, but rest assured it didn't work. So it was back to square one. 

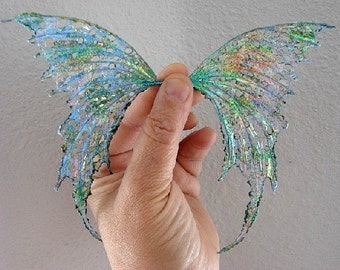
A while back, the amazing Shauna had told me about something called Fantasy Film. It was shiny, colored cellophane that, when heated, fused itself to wire and changed color. 

(Photo from Etsy)

I'd seen a few tutorials on how to use this stuff, and I was good as sold. Shauna had linked me to a store on eBay that sold it, and after a few days, I was back to the races.


(That is 48 whole feet of Purple Flash fantasy film. Got it for less than five bucks.)

While waiting for the fantasy film, I began more work on Crocker himself. I still had a mane and tail to do, as well as eyes and hooves.


Okay, let me explain. I often find it tedious beyond reason to get a straight, smooth line along where the mane or tail meet the body on a horse. In fact it can be very annoying to get it just right. So, my solution here was masking tape around the areas I didn't want to be painted blue. 


Ehh. Too blue. Will fix later.

My fantasy film had arrived in the mail at last, so now it was time to work on those darned wings.


I cut four squares of film, and ran a small amount of superglue along the shape of the wing. I laid the film over that, smoothed it out, and ensured everything was sticking correctly. I flipped the wing over, did the other side, then preceded to the next wing. Very simple process.


(It was windy, hence the clothespins. They were weights.)

This process was also very closely observed by a rather curious little Lab...

"But can I eat it?"

Once the wings had dried, I trimmed the excess film and set them aside. Now it was time to fix Crocker. I mixed up a bit of paint and did some washes over his mane and tail to make them less blue. This of course turned into a bit of a Sleeping Beauty moment - first it was too blue, then too pink, then too blue... Finally I got it right. Then I decided to do a tiny bit of shading and finish the detail work.


Using the pastel method, I shaded on his legs and wherever there would generally be shadows. His hooves were painted with some blue, and he was given basic black eyes. (The eyes on a G2 Arab are very tiny, so detail is nigh impossible.)

Next part was spraying him with some finish. We have several cans of spray paint, primer, and finish in our basement, and some of them look the same. I nabbed one that said "Satin finish" and headed outside to spray. I decided to do a test shot first, just to make sure I had a good stream...


Oh. Ohhhh.


That right there, kids, is hunter green spray paint. And I almost shot it onto Crocker. I've never been so grateful for my intuition telling me to test first. If I'd sprayed him without checking, I surely would have ripped off my own face. Back inside I went, and got the right can.


(I don't know why my camera picked him up as being so blue. He's far more violet.)

He's dry! We're in the home stretch! Now to attach the wings, do some last minute details, and off he goes!


Here we have the wings (the "stems" were trimmed down as they would never have fit in his wing holes). I used the soda-glue method for attaching his wings.

First wing, done! It dried in no time at all, and was free-standing. (And it covered the gaping wing holes, yay!)

For those not familiar with the soda-glue method, it's very simple. I put a few drops of superglue in the wing holes...

...dipped the (dry!) wing stems into some baking soda...


...and quickly put the stem into the hole. And viola! Instant, strong bond!


"I'm gonna fly away now."

After allowing the glue some time to fully dry, I put a tiny dab of  clear nail polish over each eye (it adds realism) and signed his inner back leg near the tail. Then it was more drying, some very meticulous packing (I once received a broken horse I was supposed to send as a Secret Santa gift... not letting THAT happen again!), adding chocolate and a post card to the box, and flinging him to Canada.


So long, little dude! It's been fun.


Wait a minute, I'm not done with you yet! If you'd be interested in purchasing some Fantasy Film for yourself to try making wings for ponies (or dolls), I'd suggest buying  from Morezmore. You get a ton of it for a low price, they ship fast, and they included a free tiny detail brush. 

I've got a few projects I'm working on, plus I have an "In The Mail" segment I'll be posting soon. Stay tuned!


02 April, 2014

In the Studio #6: Crocker and Taskin and Nana (Oh myyy!)

Well, it's been a few days since I updated. You can thank the good ol' Pennsylvania weather for that. I bought a new primer this past autumn and found out I couldn't use it in temperatures lower than 50. Then I was told by that no-good, lying weatherman that it would be nice on Monday. Instead, we were graced with this:


That's right. Snow. On the last day of March. It melted quickly, but that's beside the point. So, I had to wait to prime Crocker. I finally got around to priming, with some difficulty. The primer wouldn't shake correctly (you know that ball that rattles around? It wasn't rattling) so I had to battle with it. Luckily it was about 55 out so I wasn't too upset about being outside. Finally the primer yielded and I left Crocker out in the sun to dry. The results could have been better, but in the end I had a primed pony. 


Now for paint! My victim for the Spring Swap said she likes purple, so I decided on a shimmery violet color. Very fairy-like! First was the base coat.


He wasn't quite so blue in person. It was in the upper 60s today so I had the window open. Unfortunately that made my acrylics dry faster as I was working with them, but I did get a lot done.

We interrupt this Crocker progress to bring you two other ponies I've been working on. I mentioned in an earlier post that I'm doing a portrait of Na3na3 from Prince Fluffy Kareem for charity. I didn't mention that a while back, I decided to do a mini-Taskin as well. 

When I started customizing, I would simply start painting after priming. In recent years I've learned that pencil-marks are my friend, especially for white areas. I mapped those out and started with a cream-colored basecoat for Taskin. 


Na3na3 is a bit easier than Taskin. She's a simple bay mare with a white mark on her forehead. I wondered if I couldn't try doing pastels on her to build up her color.


She came out a lovely color... if I wanted her to be a dilute. I also ran into a couple of problems with the pastels sticking to the body.


As these horses were sold unpainted, I didn't bother priming. Now I know for next time. See the big splotches where the pastel wouldn't stick? I decided on acrylic.


Mmm, chocolatey. I figured it was much easier to do this until I get the whole pastel thing down. But I had fallen in love with pastels (and had some dust leftover) so decided to try some on Taskin.


Aaaand same problem. Back to acrylics for you too, Taskin.

I should also mention: I know some artists use brushes for applying pastels, but I tried that years ago and didn't like the outcome. Now I use... you know those spongy applicators that come with eyeshadow palettes? Those things. They're cheap and work very well. I'll say now that my old Urban Decay spongey things are very shoddily made. This was after a few layers of pastel on Na3na3.


Now with Na3na3's basecoat dry, I wondered if I couldn't use the pastel for some shading.


It's a subtle difference, but it's there, and I do like the look of it in person. Of course, at this point I had gone into a frenzy with the pastels.


(Yes, that's me crushing up bigger bits with the back of a paint brush.) Na3na3 got a few more layers, and I took another look at Taskin. I noticed that in the reference photo I had he has some reddish undertones to his mane and tail. I figured I'd just add a little color...


Well, I've had better ideas.


"I'm a candy corn!"


(I think it's safe to say this applicator is obliterated. On both sides.)

Now back to Crocker. I did two coats of the basecoat violet, and while waiting for those to dry, I went back to Taskin with acrylics in a better (and thinner) buckskin color.


Bubble butt!

So after that I took a break. A few hours later I noticed my mom had hijacked the computer desk (two computers, one desk), so I went back to work. I mixed some paint for Crocker's main color...


...and found it successful! I mixed his basecoat (violet and cerulean with a touch of blue lake, if you wanted to know) with some metallic violet craft paint. It made the perfect fairy color! Unfortunately it was night time when I did this, and I don't think the camera really picked up how shimmery he is. 


Then I decided to paint over Taskin's orangey mane and tail with a darker reddish-brown as a base...


-sighs- Well, it's gonna be covered with black anyway. Now that his main color is done, I plan on doing some shading, plus some more work on Na3na3. I'm also trying to figure out how to do Crocker's wings. With how nice the weather's been, I've been on a bit of a creative kick, so stay tuned!


In the Studio #5: More Fairies!!!

Today (March 27th) is a much nicer day in the backwoods of Pennsylvania (meaning it's supposed to get above 40 degrees today), so I did a bit more work on Crocker outside. 

With Crocker's wing armatures finished, I decided that it was time to fire up the dremel. Of course as soon as I was ready to head outside, my dremel battery died, so I had an hour to waste. Then we headed out.


If you're interested, my tools were a Dremel, two different drill bits, some sandpaper, a rasp, and of course, the body. Time to mutilate!


I found that the drill wasn't working as well as I'd hoped, in that the hole wasn't going deep enough. Also, it was about 20 degrees out, so I was starting to lose feeling in my fingers. I headed inside and asked my dad if he had a real drill. Of course, he did.


Once again I was banished to the dungeons, where there are spiders. Spiders are not my friends. Especially since the incident where I came face to face with a wolf spider (kinda like a tarantula that bites), but I won't get into that. While I drilled, I had my boyfriend stand on spider-watch duty. He's far braver than I am. 

I found out quickly that this thing is not only loud, but it smells. Perhaps it was because it's older than dirt, but it smelled very odd, and I figured it probably wasn't good to breathe in. So I grabbed some safety gear.


And by safety gear I mean my dad's noise-cancelling headphones and a scarf from when I was about four years old wrapped around my face. I know, I'm unbelievably attractive here.

Well, it turned out the smelly, heavy, ancient drill worked. I bored the holes in Crocker with no problem, widened them to the correct size, and fit the wings in. I also discovered that Stablemates are hollow. Who knew!


Okay, a bit wobbly, but they'll be glued in once they're done. Either way, success!